The success of your Etsy store will largely depend on the quality of your product photos. While many would think that professional-looking photos always require an expensive DSLR and mirrorless cameras, that’s not entirely true.
While a smartphone camera doesn’t capture as much detail as a professional camera, it does capture enough for a good product photo.
Keep reading our guide to shooting professional photos for your Etsy store with your smartphone. We’ll start with the gear you need and go over the other necessary steps.
Prepare Your Gear
If you want amazing photos, you’ll need to get gear to create the perfect conditions for your photoshoot. Let’s take a look at all the necessary equipment.
Invest in a Smartphone with a Good Camera
A great starting point is to get a phone that packs an excellent camera. You won’t be needing a $1000 flagship phone. There are plenty of affordable smartphones with good cameras. You should consider one of the following:
- Pixel 3 or more recent (Pixel 4a is a great value)
- Samsung Galaxy s10 or more recent (Galaxy S20 FE is a great value)
- Apple iPhone X or newer
Whichever you opt for, your images are going to look great.
We recommend you pick a brand that allows you to get into the camera’s manual mode. With those options available, you’ll have more control over your smartphone camera.
Get a Lot of Light
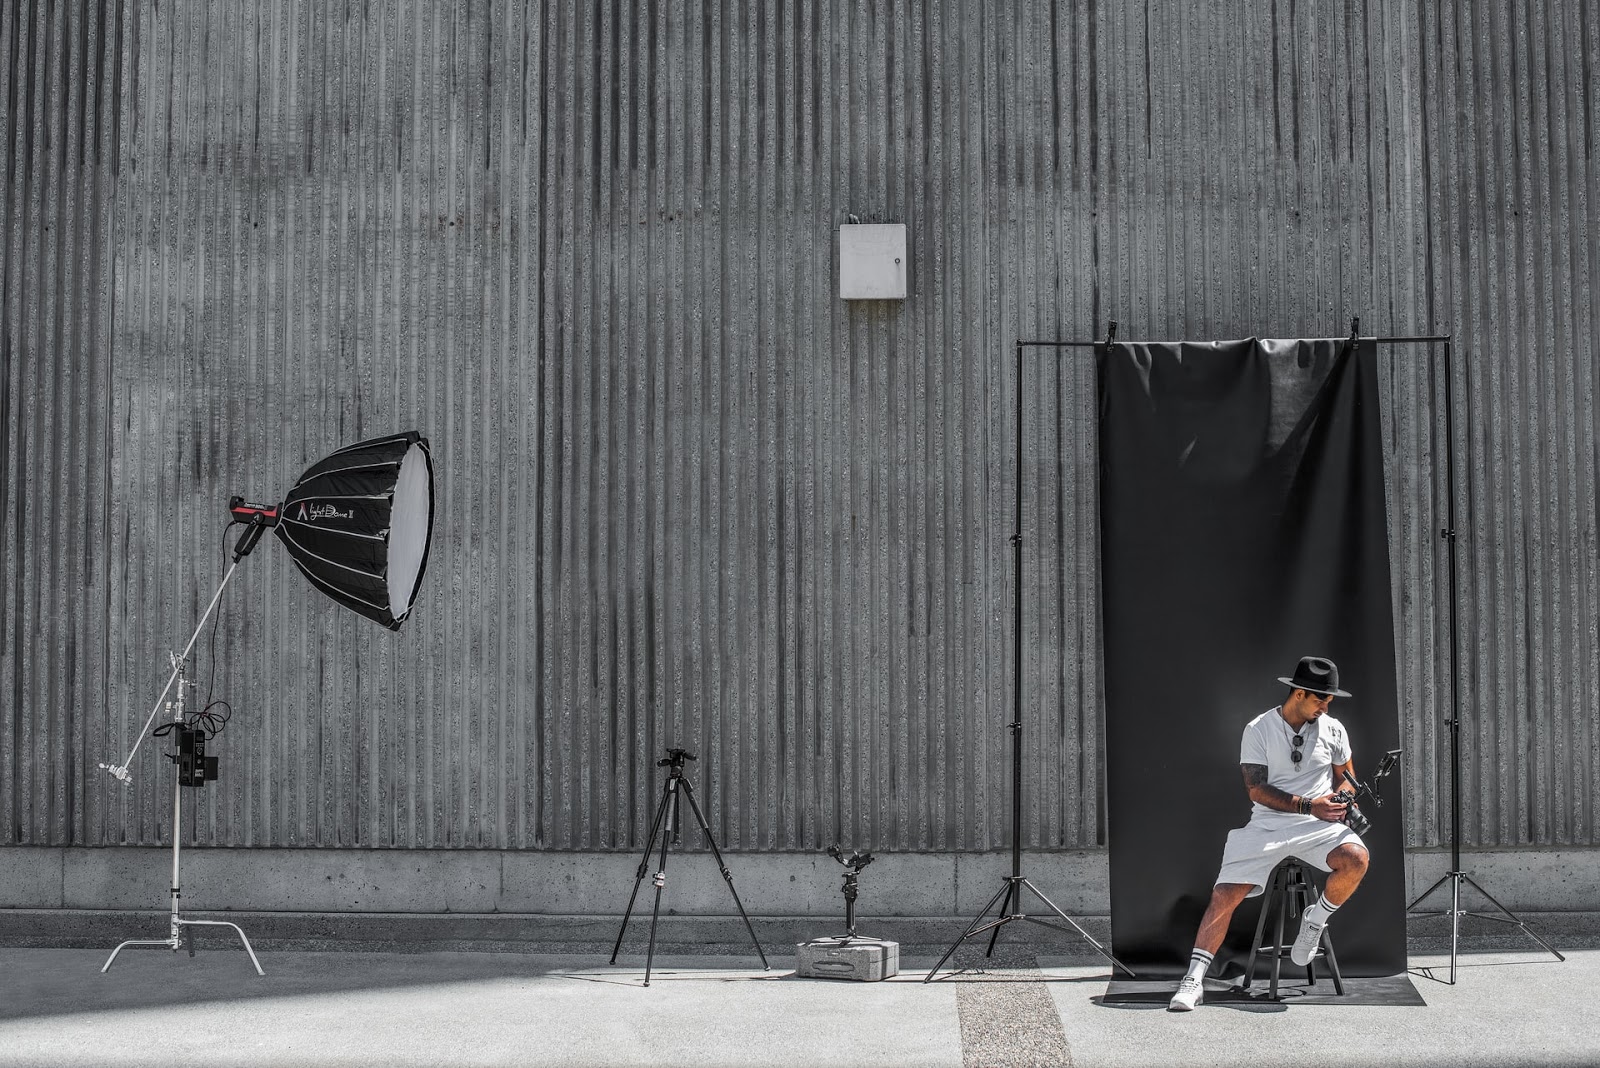
Light is essential for capturing more details in your photos. There are two options when it comes to light. You can go with either natural or artificial light.
- Natural light - Making use of natural light will require access to a well-lit window. If that’s not an option, you can always go outside to take photos. However, that’s not always possible due to weather conditions.
- Artificial light - You get a lot more flexibility with studio lights. Luckily, there are plenty of budget options available. Remember to get a set of two, so they cancel out each other’s shadows.
If your Etsy store products are small, you can make your DIY lightbox.

Get a White Backdrop
If you want your products to stand out, you’ll need to get a white backdrop. There are several ways in which you can achieve that. Most commonly, people opt for some white paper hanging from the wall.
Try it out. It’ll create a perfect setting for your product photography session.
Light Reflectors and Diffusers
No matter if you use a natural light source or an artificial one, you’re going to need light reflectors and diffusers.
Light reflectors are going to be beneficial for lighting conditions with sharp shadows. You can use them to direct light to your products to soften shadows.
Additionally, if your light source is too strong, a diffuser will soften it, leading to smoother shadows.
Use a Tripod
Once you get the hang of the manual mode, you might want to change your camera’s exposure times. In those conditions, you’ll need to stabilize your smartphone. That’s where a tripod is going to come in extremely handy.
Create the Perfect Setting
If you use your windows, it’s a good idea to get your table close to it. After setting up the white backdrop, you should use a diffusing fabric to cover the window. It’ll soften the shadow behind your products.
On the other hand, if you opt for photography lights, place your table against a wall with a white backdrop behind it. Place the lights on the table’s sides.
The majority of lights come with diffusers. However, if that’s not the case, you should cover the lights to soften the shadows.
The result will be a product on a white background with barely noticeable shadows. You can now take your smartphone and start taking photos.
Stay as creative as possible and take product photos from various angles.

How to Operate the Phone
Operating the phone’s camera is very simple. It’s one of the reasons why smartphone photography has become so popular. All you have to do is start the camera app and start taking pictures.
Here are a couple of things to pay attention to when using your smartphone camera.
- Charge your phone - Top up your phone battery. It’ll ensure stable performance over a more extended period.
- Set up the white balance - Go to the camera settings and set up the white balance. A simple tap to focus on the white background will set it up.
- Turn on the grid - Keep your camera grid turned on. You can more easily follow the rule of thirds.
- Tap to focus - Once you’ve framed your shot, it’s now time to put everything in focus. Touch the screen to focus on your product and wait for the camera to do its thing. You can take pictures now. Whenever you change your position, touch on the product on your screen to focus again.
- Don’t use the zoom features - Avoid using a zoom, as it greatly lowers the photo’s quality. Unlike DSLR and mirrorless cameras, smartphones only come with digital zoom.
- Use back camera only - Only use the back camera of your phone. It comes with the best features and the highest pixel count.
- Don’t use the flash - Using the flash will unnecessarily overexpose a photo.
Photo Editing
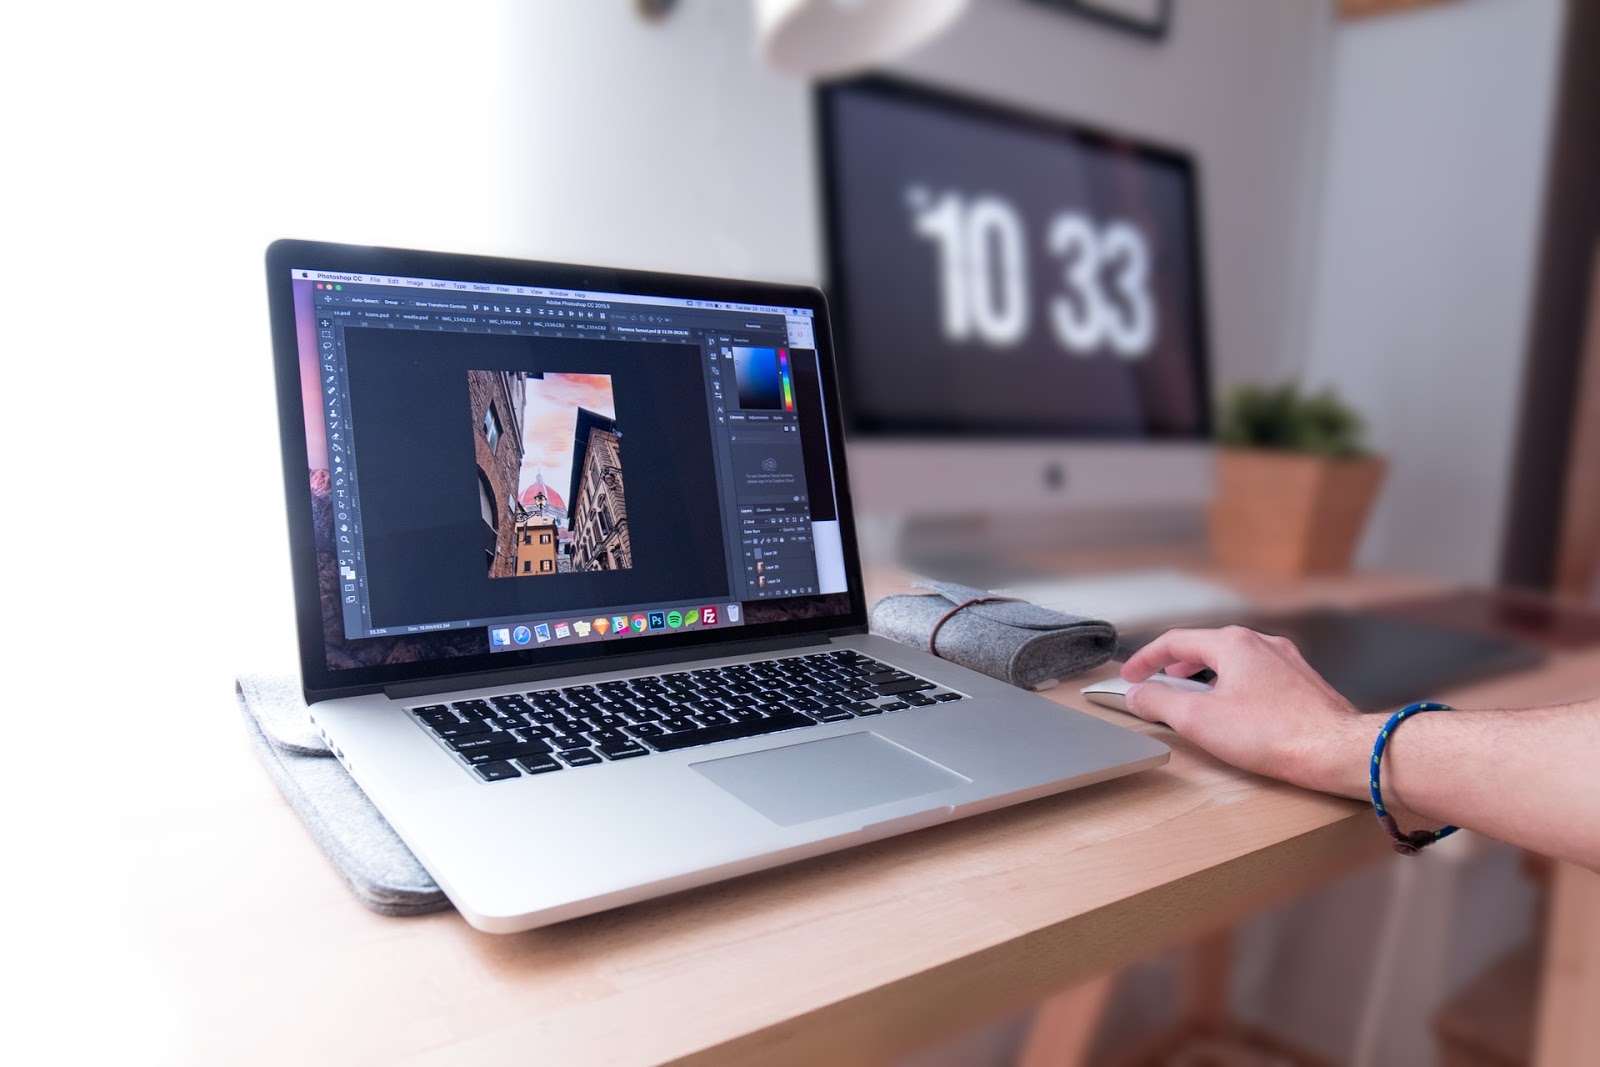
The best part is you can use your phone to edit your photos seamlessly and immediately add them to your Etsy product listing. It simplifies the whole process as you don’t have to spend a lot of time transferring them to your PC to process.
You’ll find some of the following apps useful for photo editing on your phone.
- Lightroom
- Photoshop Express
- Snapseed
- VSCO
- Camera+
When you’re editing your photos, try only to make some slight changes. Adding too much color or changing any other setting will result in an unnatural-looking image.

Follow Shop Performance with Alura
Adding high-quality product photos to your Etsy store will result in some positive changes. For more details and excellent product listing recommendations, you can use our Alura tool. If you want to learn more, please contact us.
We’re looking forward to hearing from you and growing your store further.


